
Frustration hits hard when you need to tweak your home network but cannot reach the router settings. You type 192.168.1.1 into your browser, yet nothing loads. Or the page appears, only for the login to fail repeatedly. Slow internet, forgotten Wi-Fi passwords, or security concerns make the situation worse. Many people face these exact 192.168.1.1 Admin and 192.168.1.1 log in problems daily, leaving them stuck with an unresponsive network.
I have helped countless readers navigate router issues. This article cuts through the confusion. It explains exactly what 192.168.1.1 represents and walks you through reliable ways to log in. You will also discover targeted solutions for the most common login hurdles. By the end, you will feel confident managing your router like a pro. No advanced skills required. Just clear steps and honest advice that actually works in 2026.
What is 192.168.1.1 Admin
192.168.1.1 is a private IP address that many routers use as their default gateway. It serves as the doorway to your router’s web-based administration panel. Popular brands such as TP-Link, Linksys, ASUS, Netgear, and D-Link commonly assign this address.
Once you reach the panel, you gain full control over your home network. You can change Wi-Fi passwords, update security settings, monitor connected devices, and optimize performance. This local address works only from devices connected to your router through Wi-Fi or Ethernet cable. It remains completely inaccessible from outside your home network, such as when using mobile data. This built-in restriction adds a natural layer of security.
Important Notes
- The exact gateway address can vary. Some routers use 192.168.0.1, 192.168.1.254, or 10.0.0.1 instead.
- Always confirm your router’s actual IP before troubleshooting.
- The address belongs to the private range defined by networking standards, ensuring it never conflicts with public websites.
How to Find Your Router’s Correct IP Address
Finding the right gateway takes only a moment.
1. On Windows: Press Windows key + R, type cmd, and hit Enter. In the Command Prompt window, type ipconfig and press Enter. Look for the line labeled Default Gateway under your active network connection.
2. On macOS: Go to System Settings → Network. Select your current connection (Wi-Fi or Ethernet), click Details, then switch to the TCP/IP tab. The Router field shows the correct IP address.
3. On Linux: Open a terminal and run the command ip route | grep default. The address listed after “via” is your router’s gateway.
These quick checks save time and prevent confusion when the standard 192.168.1.1 does not respond.
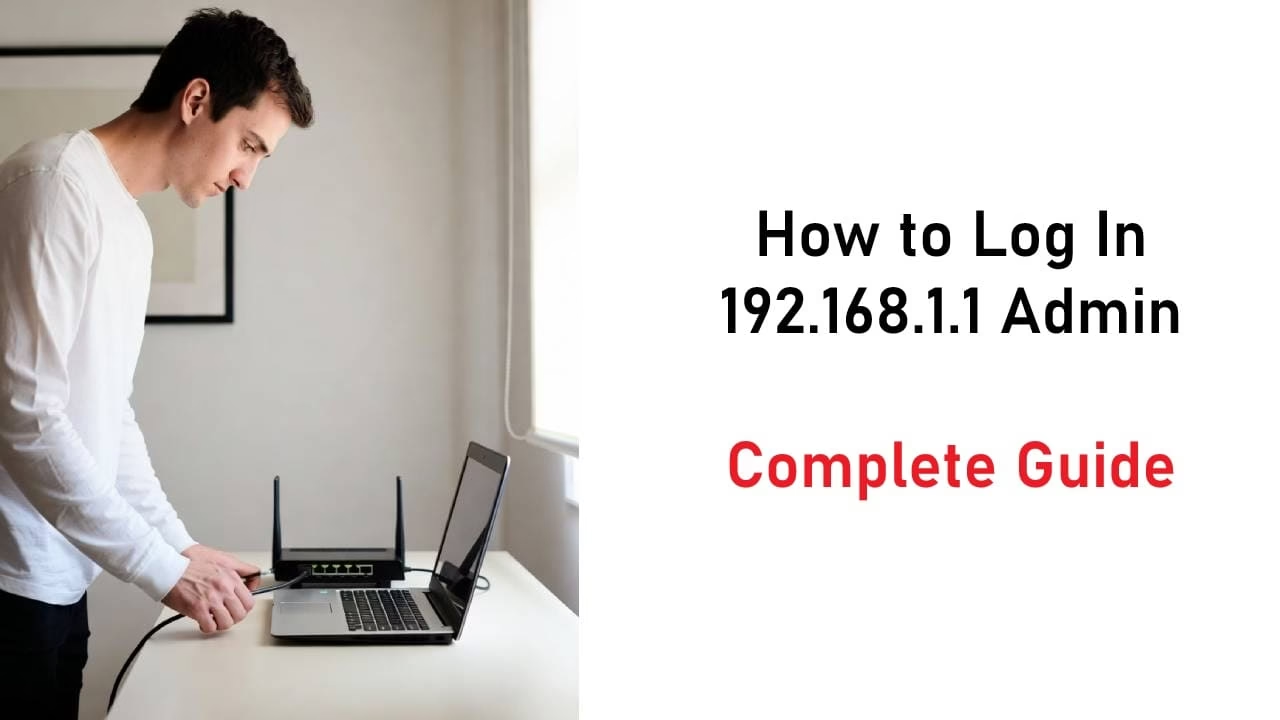
How to Log In to 192.168.1.1 Admin
Follow these steps carefully. They work for most common routers.
- Connect your device to the router. Use an Ethernet cable for the most stable connection. Wi-Fi also works, but a cable is more reliable during setup.
- Open a web browser such as Chrome, Firefox, or Edge. Type 192.168.1.1 exactly into the address bar. Pay close attention to the dots and numbers. Common mistakes include typing 192.168.l.l instead.
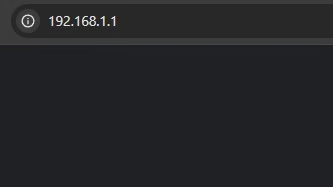
- Press Enter. The login page should appear. If it does not load, check your connection or find the correct IP address.
- Enter the username and password. Many routers use “admin” for both fields by default. Some use “admin” as username and “password” as password.
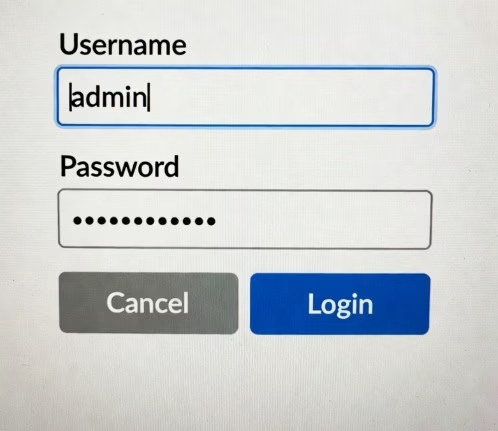
- Check the sticker on the back of your router for the exact details.
- Click Login or Sign In. You will now enter the admin dashboard.
If it still does not work, restart the router. Try from another device. Some models use 192.168.0.1 instead. To find your exact gateway, open Command Prompt on Windows and type ipconfig. Look for “Default Gateway.” On Mac, use netstat -nr | grep default.
Key Features Inside the 192.168.1.1 Admin Panel
Once inside the 192.168.1.1 admin panel, you gain access to powerful tools that let you customize and secure your entire home network. The exact layout varies slightly by manufacturer, but the core sections remain similar across popular brands. Here is a detailed look at the most important features and how they help you in everyday use.
1. Wireless Settings
This section forms the heart of most users’ needs. You can change the network name (SSID) to something personal and easy to recognize. Update the Wi-Fi password regularly for better security. Switch encryption from older WPA2 to the stronger WPA3 standard whenever available. Many panels also let you hide the SSID, create separate 2.4GHz and 5GHz bands, or adjust channel selection to reduce interference from neighboring networks. These options directly improve speed and connection stability.
2. Connected Devices
The dashboard shows a real-time list of every device linked to your router. You can see device names, IP addresses, and connection types. This visibility helps identify unknown or suspicious gadgets. Block unwanted devices instantly or assign priority to important ones such as your work laptop or smart TV. Some advanced routers even allow you to set time-based access rules per device.
3. Security Options
Protecting your network starts here. Enable or fine-tune the built-in firewall, create isolated guest networks for visitors, and disable remote management to prevent outside access. Additional tools often include MAC address filtering, VPN support, and DoS attack protection. Taking a few minutes to strengthen these settings significantly reduces risks from hackers and unauthorized users.
4. Firmware Updates
Keeping your router’s software current is essential. The admin panel usually includes a dedicated section to check for and install the latest firmware. Updates patch known security vulnerabilities, fix bugs, and sometimes add new features or improve overall performance. Manufacturers recommend checking for updates every few months.
5. Port Forwarding
Gamers, security camera owners, and smart home enthusiasts love this feature. Port forwarding directs incoming traffic on specific ports to particular devices on your network. For example, you can open ports needed for online multiplayer games or allow external access to a home server. Always use it carefully and only for necessary services to maintain security.
6. Parental Controls
This section helps families manage screen time and content. Set daily limits on internet usage for children’s devices, block specific websites or categories, and schedule when the internet turns off automatically. Some routers offer detailed activity reports so parents can monitor usage patterns effectively.
7. DHCP Settings
DHCP (Dynamic Host Configuration Protocol) controls how IP addresses get assigned automatically. In this area, you can reserve specific IPs for important devices, change the IP address range, or switch to static assignments. Proper configuration prevents address conflicts and makes network management smoother.
8. QoS (Quality of Service)
QoS lets you prioritize bandwidth for certain activities. Give higher priority to video calls, online gaming, or 4K streaming so they do not suffer during heavy downloads. This feature ensures a smoother experience when multiple people use the network simultaneously.
These tools turn a standard router into a highly customizable system. Take time to explore each section gradually. Small, thoughtful changes often bring the biggest improvements in speed, stability, and peace of mind.
These features may vary slightly depending on your router brand, but they provide solid foundations for a reliable network. Many users only realize here why their internet sometimes feels slow. Small adjustments can make a big difference.
Also know: How to Reset Your PC for a Fresh Start on Windows
Troubleshooting Common 192.168.1.1 Log In Problems
Login issues rank among the top complaints for 192.168.1.1 Admin users. The page refuses to load. Credentials get rejected. Connections time out. These problems often stem from simple oversights rather than hardware failure.
Here is a detailed, step-by-step troubleshooting guide based on common solutions recommended by networking experts and router manufacturers.
1. Verify the Correct IP Address
Begin with this fundamental check. Many users waste time trying 192.168.1.1 when their router actually uses a different gateway, such as 192.168.0.1 or 10.0.0.1. On Windows, open Command Prompt and type ipconfig. Look for the “Default Gateway” under your active network adapter. On macOS, launch Terminal and enter netstat -nr | grep default. This confirms the exact address assigned by your router. Using the wrong IP is one of the most frequent reasons access fails.
2. Clear Browser Cache and Try Alternatives
Cached data or corrupted temporary files often prevent the login page from loading properly. Clear your browser’s recent history and cookies, or open an incognito/private window. If the issue persists, switch to a completely different browser. This simple action bypasses many rendering or extension-related glitches that block the admin interface.
3. Switch to a Wired Connection
Wireless signals can be unstable due to interference from walls, other devices, or distance. Connect your computer directly to the router using an Ethernet cable. A wired link offers reliable communication and eliminates Wi-Fi-related barriers during the login process. This step proves especially helpful in homes with thick walls or crowded frequency bands.
4. Restart Devices to Fix IP Conflicts
IP address conflicts occur when multiple devices try to use overlapping addresses on the same network. A full restart of both your router and the computer flushes temporary assignments and often restores proper communication. Power off the router for at least 30 seconds before turning it back on. This method resolves a surprising number of connectivity issues without deeper intervention.
5. Perform a Factory Reset for Forgotten Passwords
Forgotten or changed passwords create a major roadblock. Locate the small reset button on the back of your router. Press and hold it for 10 to 15 seconds while the device is powered on. The router will reboot with factory default settings. After the reset, use the username and password printed on the device label. Remember that this action removes all previous custom configurations, so note important settings beforehand if possible.
6. Temporarily Disable Firewall or Antivirus
Security programs on your computer sometimes flag the router’s admin page as suspicious and block access. Temporarily disable your firewall, antivirus, or VPN software during the login attempt. Once you successfully enter the panel, re-enable protection immediately. This precaution maintains overall system safety while allowing necessary router management.
7. Check for Firmware Updates
Outdated firmware can cause instability in the web interface itself. After gaining access, navigate to the firmware or maintenance section and check for available updates. Installing the latest version improves security, fixes bugs, and often enhances the stability of the admin panel. Manufacturers regularly release these updates to address known issues.
8. Power Cycle the Router
When other steps fall short, perform a complete power cycle. Unplug the power cord from the router, wait a full 30 seconds, and plug it back in. Observe the LED lights as they cycle through their startup sequence. This process clears temporary memory glitches and refreshes all connections. It serves as an effective final basic troubleshooting step before seeking advanced help.
These fixes address the majority of reported 192.168.1.1 log in problems in recent years. Patience combined with systematic checking usually leads to success.
9. Advanced Tips for Persistent Issues
Some users encounter rarer problems like incorrect subnet masks or disabled web management interfaces. In those cases, consult the specific router manual or contact manufacturer support. Brands like TP-Link and Netgear provide detailed online resources tailored to their models.
10. Security Reminder
Security remains crucial throughout the process. Never leave default passwords in place after your first login. Create a strong, unique one and enable two-factor authentication if your router supports it.
Final Thoughts
Accessing the 192.168.1.1 Admin panel opens the door to better network performance and greater control. Understanding what this address does and following the right login steps removes most obstacles. When 192.168.1.1 log in problems appear, the troubleshooting guidance here helps you resolve them quickly and confidently.
Take time to explore the features responsibly. Small adjustments, like updating security settings or optimizing Wi-Fi channels, deliver noticeable improvements in speed and reliability. At Avsoftlab, we believe technology should simplify life, not complicate it. With this knowledge, you now hold the tools to keep your home network running smoothly.
If issues persist after these steps, reach out to your router manufacturer support. They often provide model-specific advice that matches your exact hardware. Stay curious, keep learning, and enjoy a faster, more secure connection.