Many iPhone users struggle with transferring their cherished photos to a laptop. You might find yourself wanting to free up space on your device or simply share those moments with loved ones in high resolution. Fortunately, there are easy ways to achieve this goal. In this guide, you will learn various methods to transfer photos from iPhone to laptop, ensuring you can keep your memories stored safely and access them whenever you want.
In this article, we’ll explore different methods to transfer photos seamlessly, ranging from using built-in tools on your devices to easy-to-use apps. Whether you’re a tech novice or an experienced user, you’ll find a method that fits your needs.
Best Methods to Transfer Photos from iPhone to Laptop
Transferring photos from your iPhone to your laptop can be done in several ways. Each method caters to different preferences and technical comfort levels. Let’s dive into the most effective techniques.
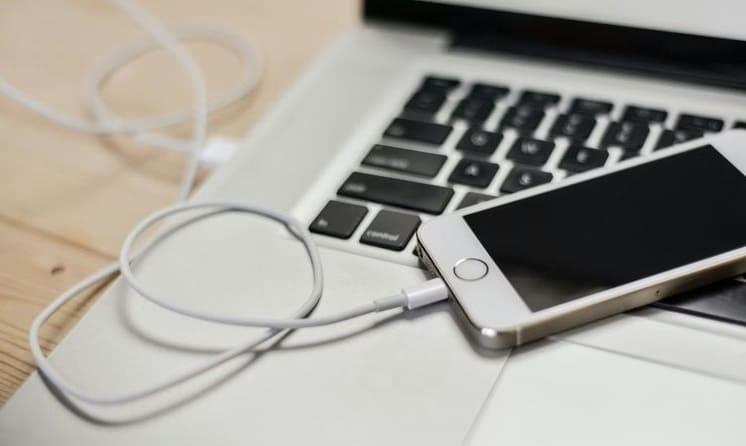
Method 1: Using USB Cable
The first and most straightforward method involves using a USB cable to connect your iPhone directly to your laptop. Follow these steps:
- Connect Your iPhone to Your Laptop: Use a USB cable to connect your iPhone. Make sure to unlock your iPhone to allow access.
- Trust This Computer: A message might pop up on your iPhone asking if you trust this computer. Tap “Trust” and enter your passcode if required.

- Open File Explorer (Windows) or Photos App (Mac):
- Windows: Open File Explorer. Your iPhone should appear as a device under “This PC.”
- Mac: Open the Photos app. Your iPhone will show in the left sidebar.
- Select Photos:
- Windows: Click on your iPhone, then navigate to the DCIM folder to see your images. Select the photos you want to transfer.
- Mac: Select your iPhone under “Devices,” view the photos, and check the ones you want to import.
- Transfer Photos:
- Windows: Drag and drop the selected photos to a folder on your laptop.
- Mac: Click “Import Selected” after selecting the photos.
- Eject Your iPhone: Once the transfer is complete, safely eject your iPhone from the laptop.
This method is reliable and quick, especially for users who prefer physical connections.
Also know: How to Clear Space to Run Games Smoothly on PC
Method 2: Using iCloud
If you prefer a wireless method, iCloud is an excellent choice. Here’s how to use it:
- Check iCloud Settings on Your iPhone: Go to Settings > Your Name > iCloud, and ensure that “Photos” is toggled on.

- Enable iCloud Photos: In the Photos settings, enable “iCloud Photos.” This will upload all your photos to iCloud.

- Access iCloud on Your Laptop:
- Windows: Download the iCloud for Windows app, sign in, and enable “Photos.”
- Mac: Your iCloud photos should automatically sync with the Photos app if you’re signed in with the same Apple ID.
- Download Photos: After syncing, you can easily download the photos from iCloud to your laptop. Open the iCloud Photos folder and select the images you want to save.
iCloud offers a seamless experience, but it requires internet access and may take time for large photo libraries to sync.
Method 3: Using AirDrop (Mac Only)
For Mac users, AirDrop is a fast way to transfer photos wirelessly. Here’s how it works:
- Enable AirDrop on Your Mac: Open Finder, click on “AirDrop” in the sidebar, and set it to “Allow me to be discovered by Everyone.”

- Enable AirDrop on Your iPhone: Swipe down from the upper-right corner to open Control Center. Tap on AirDrop and set it to “Everyone.”
- Select Photos on Your iPhone: Open the Photos app, select the images you want to send, then tap the Share icon.

- Tap Your Mac’s Name: Choose your Mac from the AirDrop menu. A notification will appear on your Mac.
- Accept the Transfer on Your Mac: Click “Accept” to receive the photos. They will be saved in your Downloads folder.
- Organize Your Photos: Move them to your preferred location after the transfer is complete.
AirDrop is not only quick but also convenient, especially for those who frequently share images.
Method 4: Using Third-Party Apps
If you’re looking for different ways to transfer photos without using traditional methods, third-party apps can offer flexibility. Here’s how:
- Choose an App: Look for apps like Google Photos or Dropbox. Download the app of your choice on your iPhone.
- Install the App on Your Laptop: If necessary, install the desktop version of the app on your laptop and sign in.
- Upload Photos to the App: Open the app on your iPhone, and upload the photos you want to transfer.
- Access the Photos on Your Laptop: Open the app on your laptop, and you should see all your uploaded images there.
- Download Photos: From the app on your laptop, select the images and download them to your local storage.
Using third-party apps allows you to manage your photos across devices easily, but be mindful of storage limits and privacy concerns.
Also know: The Best Workout Apps for iPhone & Apple Watch
Conclusion
In summary, the easiest way to transfer photos from iPhone to laptop largely depends on your preferences. Whether you use a USB cable for a direct connection, iCloud for seamless syncing, AirDrop for quick shares, or third-party apps for flexibility, each method has its own merits. For simple, fast transfers, using a USB cable or AirDrop is often the best choice.
Don’t forget to share this guide with friends or bookmark it for future reference!

Recent Posts

How to Transfer Photos from iPhone to Laptop
Editorial Team, 11 Mar 2026

Batman Arkham Games in Order of Release
Editorial Team, 10 Mar 2026

Medal Clipping Software: Is it Worth Using in 2026?
Editorial Team, 09 Mar 2026
Most Used Tags
Blog Category
Get amazing web and
app development deals
for your business from us.