Hey there! If you’ve ever copied something important, switched apps, and then realized you overwrote it with the next copy-paste, you’re not alone. That’s exactly why Microsoft built clipboard history into Windows 11. It’s a super-handy feature that remembers the last 25 things you’ve copied (text, images, even links) so you can go back and paste any of them whenever you need. No more “I know I copied that email two minutes ago—where did it go?!”
Windows 11’s clipboard history fixes exactly that. It quietly stores your last copies—text, images, links—so you can pull any of them back when needed.
Once you start using clipboard history view (also called windows clipboard history), it quickly becomes one of those little productivity tricks you can’t live without. Ready to learn the easiest ways to access it? Let’s dive into the top three methods.
Top Methods to View Clipboard History in Windows 11
The good news? Windows 11 already has a built-in clipboard history feature—no extra software required for the first two methods. But depending on whether you love keyboard shortcuts, prefer using only your mouse, or want even more advanced options, there’s a perfect way for you. Here’s how each one works, step by step.
1. The Fastest Way: Using the Keyboard Shortcut (Windows + V)
This is hands-down the quickest and most popular method for clipboard history view. Microsoft designed it to pop up instantly so you never break your flow.
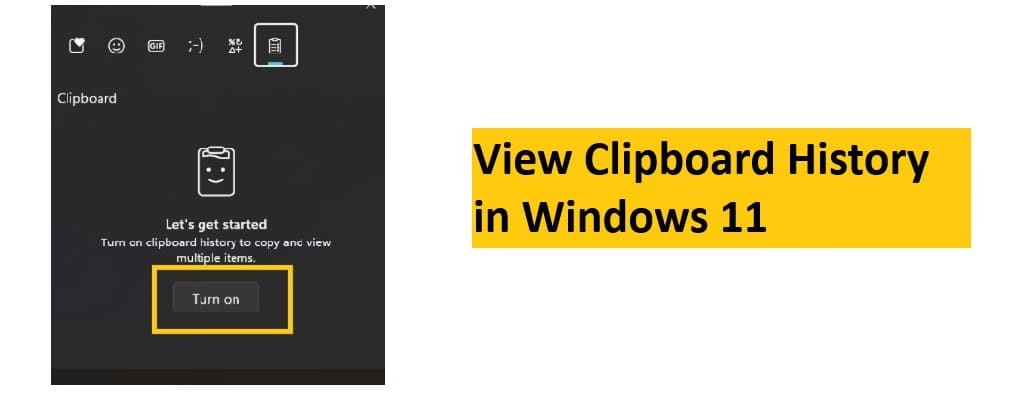
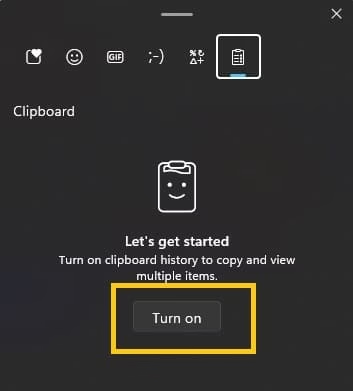
- Press the Windows key + V on your keyboard. (If it’s your first time, a little window will appear asking you to “Turn on” clipboard history—go ahead and click it!)
- The clipboard history panel will slide in from the right side of your screen, showing your recent copies with the newest at the top.
- Scroll through the list, hover over any item to see a preview, and click the one you want to paste it instantly.
- Bonus tips inside the panel: Pin important items (so they never disappear), remove single entries, or hit “Clear all” to start fresh.
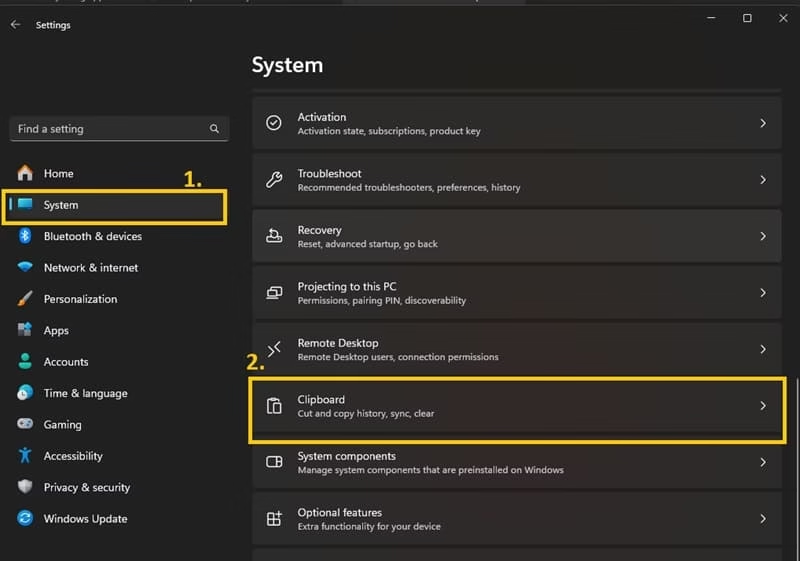
- Want it to sync across your other Windows devices? Head to Settings > System > Clipboard and turn on “Clipboard history across devices.”
Super simple, right? Once it’s enabled, Win + V becomes your new best friend.
Also know: How to Clear Space to Run Games Smoothly on PC
2. Mouse-Only Method: Using the Touch Keyboard or On-Screen Keyboard
No keyboard nearby? Or maybe you’re on a tablet or just prefer clicking? Windows 11 has you covered with its built-in on-screen tools.
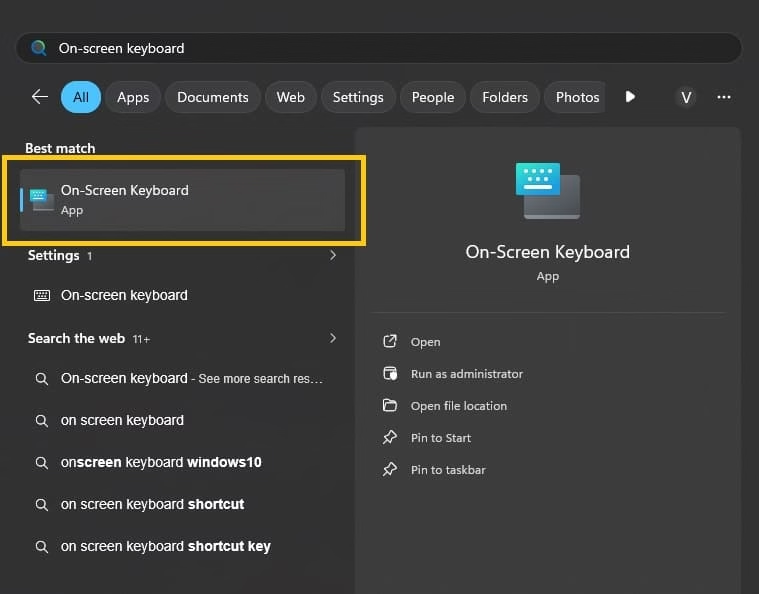
- First, enable the Touch Keyboard button on your taskbar: Right-click an empty spot on the taskbar → Taskbar settings → toggle Touch keyboard on. (Or search for “On-screen keyboard” in the Start menu.)
- Click the keyboard icon that appears near the clock on your taskbar. The touch keyboard window opens.
- Look for the clipboard icon (it usually sits above the number row or in the toolbar) and click it—or simply tap the Windows key icon on the on-screen keyboard, then tap the letter V.
![]()
- Your full clipboard history view appears exactly like it does with the shortcut.
- Select any item to paste it, pin what you love, or manage the list as usual.
This method is fantastic for touch-screen users or anyone who wants to avoid the physical keyboard entirely. It feels a little magical the first time you try it!
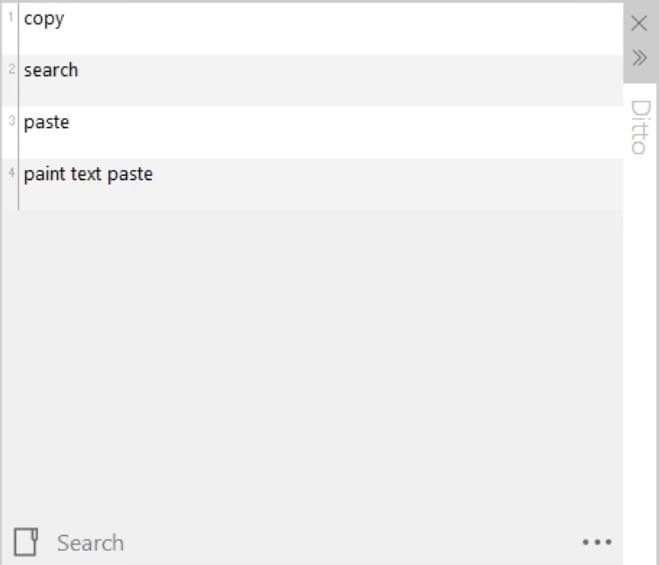
3. For Power Users: Third-Party Clipboard Managers (Like Ditto)
If you copy and paste a lot and want unlimited history, search, folders, or even auto-cleanup, the built-in tool is solid—but third-party apps take it to the next level.
- Download a trusted free app like Ditto (my personal favorite—it’s lightweight, open-source, and works beautifully on Windows 11).
![]()
- Install and launch it. It usually runs quietly in your system tray.
- Set your preferred hotkey (many people keep Windows + V for consistency, or change it to something else).
- Start copying as normal—Ditto automatically saves everything (way more than 25 items if you want).
- Open the app’s clipboard history view with your hotkey, search through past copies, organize them into groups, or even paste plain text only.
- Customize settings to keep history forever, ignore sensitive apps, or sync via cloud if needed.
Other great options include Clipboard Master or ClipClip, but Ditto is free and gets the job done without any fuss.
Also know: How to Transfer Photos from iPhone to Laptop
4. Microsoft PowerToys Advanced Paste
Grab PowerToys from the Microsoft Store. It’s official, free, and sharpens what Windows already offers.
Install it. Open PowerToys Settings. Enable Advanced Paste. Turn on clipboard history inside it.
A custom shortcut pops the enhanced view. You get history plus smart paste options—plain text, formatted, or even AI tweaks. Items linger longer. Search feels instant. Pin favorites. It stays lightweight in the background.
Perfect if the native tool feels too basic. No bloat. Just clean power.
Conclusion
There you have it—the three easiest ways to unlock clipboard history view in Windows 11 and make your daily copying and pasting so much smoother. Whether you’re a keyboard ninja, a mouse lover, or a power user who wants extras, you now have options that fit your style.
As Amanda, your friendly tech writer who’s tested all of these on multiple Windows 11 machines, my top recommendation is Method 1: the built-in Windows + V shortcut. It’s fast, secure (everything stays on your device unless you choose to sync), requires zero downloads, and is already baked into the OS. Most people only need the native tool and never look back. Give it a try today—you’ll wonder how you ever lived without it!
Got questions or a favorite clipboard trick of your own? Drop it in the comments—I’d love to hear from you.
FAQs
Q1. How many items does clipboard history hold?Q
Up to 25 by default. Pinned ones stay forever.
Q2. Can I sync clipboard across devices?Q
Yes. Head to Settings > System > Clipboard. Flip the sync toggle. Sign in with Microsoft account.
Q3. Why won’t Win + V work?Q
Make sure clipboard history is enabled in Settings. Restart explorer.exe or your PC. Rare driver glitches fade after update.

Recent Posts

Where to Watch Obsession Movie in 2026: Top Picks
Editorial Team, 24 Jul 2026
Most Used Tags
Get amazing web and
app development deals
for your business from us.