Running out of disk space hits every gamer hard. You spot an exciting new title, hit download, and bam your PC warns about low storage. Games stutter, load slowly, or refuse to launch. Modern AAA games easily eat 100GB+. Your drive fills fast with updates, mods, and old installs. This kills performance because Windows needs free space for virtual memory, caching, and smooth operations. Low space causes lag spikes and crashes during intense gameplay.
Many gamers face this issue daily. You delete one game just to install another. Temporary files pile up quietly. Old Windows updates linger. Downloads folders overflow. The good news? You can clear space to run games without buying new hardware right away. This guide shows proven, safe methods to reclaim dozens (or hundreds) of gigabytes. Follow these steps to make your PC feel faster and ready for any game.
The most important step is to start with a quick audit of your storage. Use built-in tools to see what hogs space. Then apply targeted cleanups. You will learn how to remove junk files, uninstall unused games, manage game launchers, and set up automatic maintenance. These tricks work on Windows 10 and 11. They keep your system optimized for gaming.
Top 5 Most Effective Methods to Clear Space and Optimize your PC for Gaming
Each section includes detailed explanations of why the method matters for gamers, step-by-step instructions, expected space savings, pro tips, and visual references to help you follow along. Start with Method 1 for the quickest, biggest wins, then layer on the others for long-term maintenance.
1. Uninstall Unused Games and Apps
Why this delivers the biggest instant impact? On most gaming PCs, installed games and their associated files account for 60–80% of total used storage. A single modern title with all DLC and recent patches can easily exceed 200GB. If you have a backlog games you bought on sale but haven’t touched in 6+ months removing them is the fastest way to free massive amounts of space without affecting your active library.
To uninstall unused games follow these simple steps:
- Press the Windows key + I that instantly opens the Settings window.
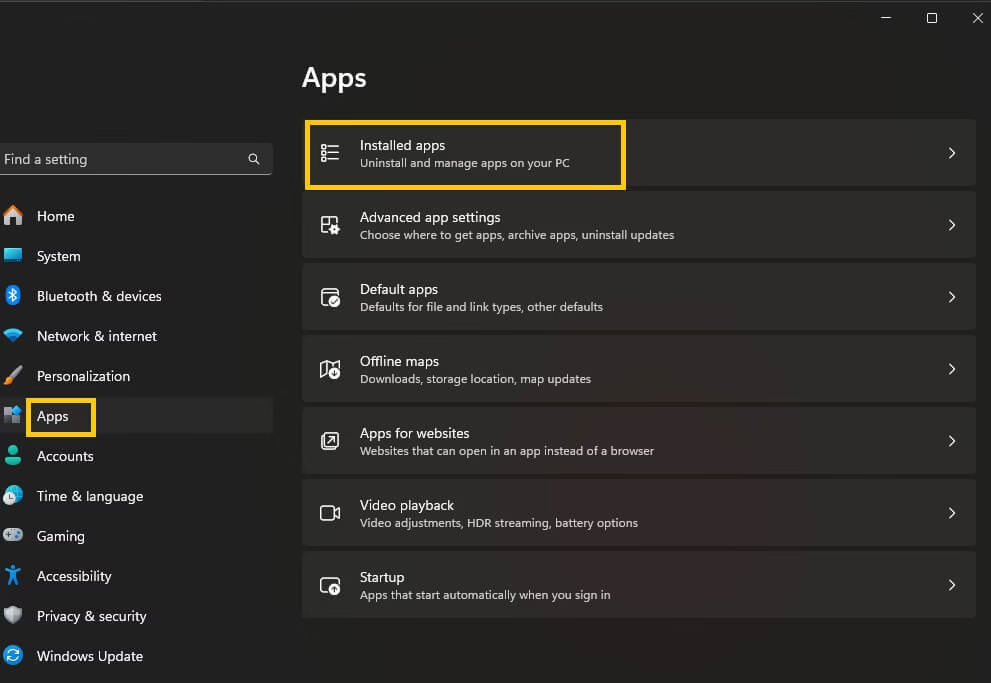
- Click on Apps, then choose Installed apps.
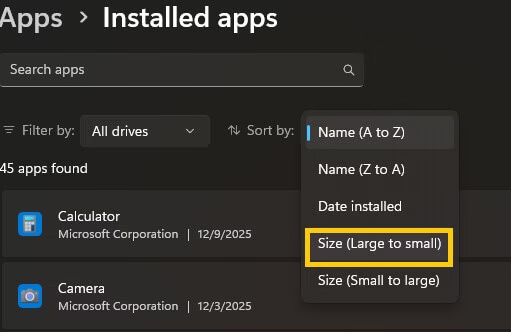
- At the top of the list you’ll see a sort by drop-down. Click it and pick size. Boom now the absolute biggest apps and games are sitting right at the top. This is the fastest way to spot the real culprits.
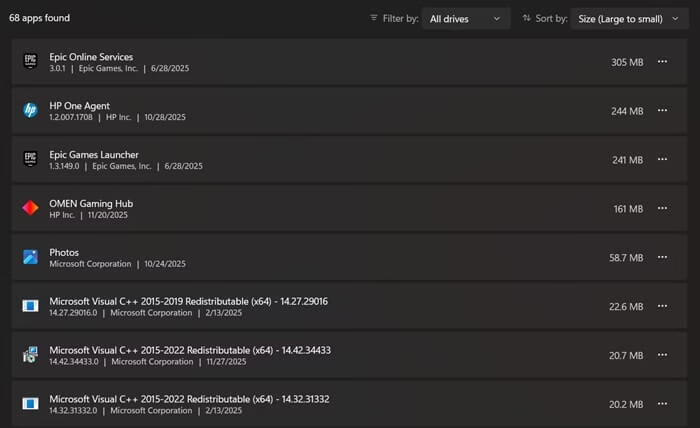
- Scroll through slowly and look for things you don’t use anymore that 80GB game you haven’t touched in two years, old demos, random launchers, pre-installed bloatware, or those I’ll play it someday titles.
- When you find one you want to get rid of, click the three little dots next to it, then hit Uninstall.
2. Enable & Run Storage Sense for Automatic Cleanup
Gaming creates tons of temporary files shader caches rebuild during first launches, installers leave leftovers, downloads accumulate in the background. Storage Sense is Microsoft’s smart, automated tool that silently removes these without you lifting a finger after initial setup. It prevents the slow creep of junk that eventually causes lag and install failures.
To use Storage Sense follow these steps:
- Hit Windows key + I to open Settings.
- Click on System, then scroll down and select Storage.

- Right at the top, you’ll see Storage Sense. Flip the switch to On if it’s not already.
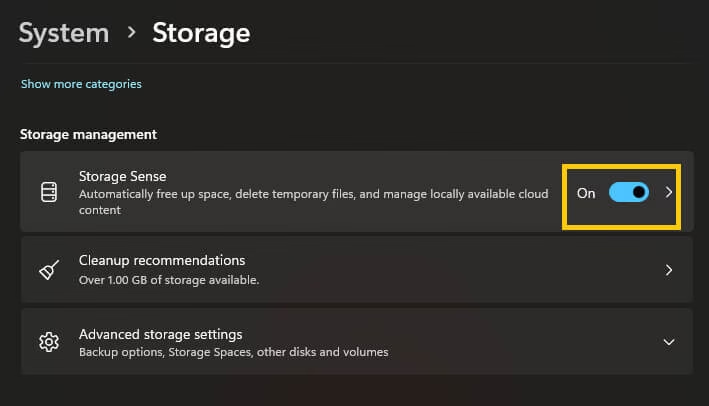
- Just below that, click Configure Storage Sense or run it now.
Now you can customise how aggressive you want it to be:
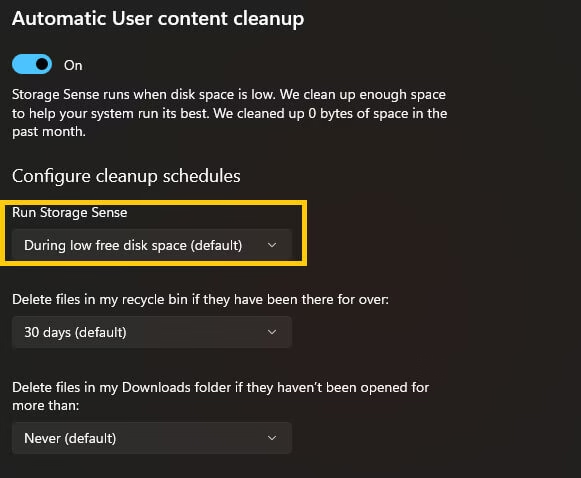
- Under Run Storage Sense, choose When free disk space is low OR pick a schedule like Every week, Every month, or even Every day if you’re someone who generates a ton of temp files.
- Scroll down to Delete files in my Recycle Bin if they have been there for over set it to 30 days, or go more aggressive with 14 days or even 1 day if you really want to squeeze out every gigabyte.
- Make sure Delete temporary files that my apps aren’t using is checked, this one quietly removes a surprising amount of cruft.
Also know: Stream East Alternatives to Watch Free Sports Games
3. Use Disk Cleanup
Beyond basic temp files, Windows keeps old update files, previous Windows installations, and thumbnails that can hide 5 to 50GB+ after major feature updates. The “Clean up system files” button unlocks these safely something many users overlook.
To Use it Just Follow these steps:
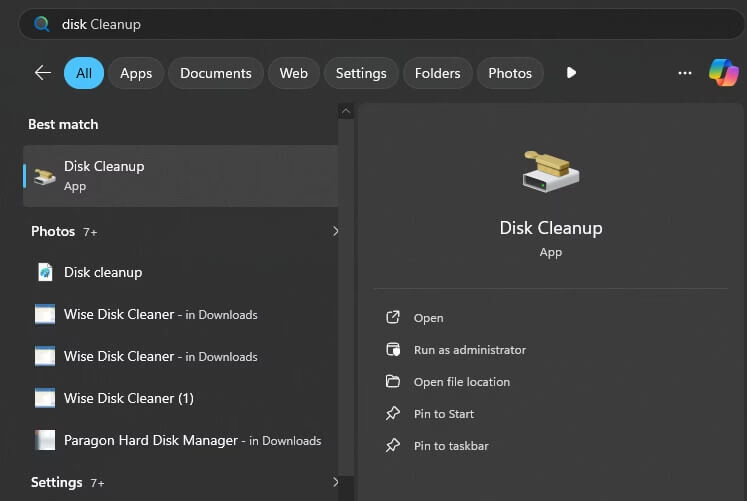
- Click the Start button, type Disk Cleanup, and hit Enter to launch it. It usually pops up right away as the top result.
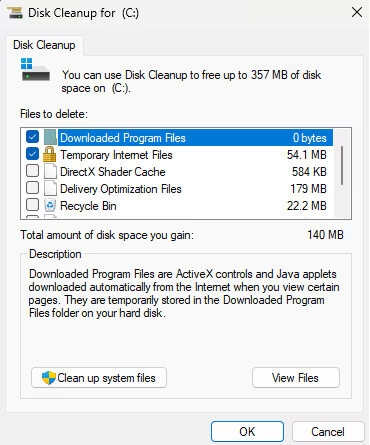
- In the little window that appears, make sure your main drive is selected in the drop down, then click OK.
-
Wait a minute or two while it scans your drive . Once it finishes, you’ll see a list of basic stuff. Go ahead and check the boxes for anything you don’t need most people safely check almost everything here.
-
Here’s the really important part don’t skip this! Click the button that says Clean up system files. This is where the big wins happen. Windows will re-scan, and now you’ll see extra categories like:
- Windows Update Cleanup
- Previous Windows installations
- Delivery Optimisation Files
- Temporary Windows installation files
- And others that can add up fast
- Check the boxes for the big ones you want to remove then click OK.
- A confirmation window will pop up showing exactly how much space you’ll reclaim.
4. Manually Delete Temporary Files & Clear Game Caches
Gaming generates heavy temp data. These folders bloat quickly and can slow load times even with plenty of space left. That’s why clearing all temp files is important to run games smoothly.
To clear temp files follow these steps:
- Press Windows key + R to pop open the Run dialog box.
- Type %temp% exactly like that, then hit Enter.
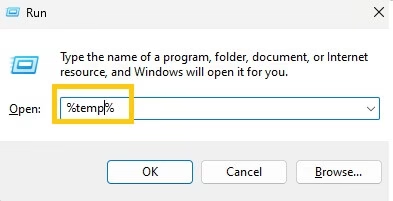
- Once the folder opens, press Ctrl + A to select everything then hit Delete.
- Windows will start removing them but some files might be in use by programs that are currently running. If you see a warning like File in use or Access denied, just click Skip.
5. Move Games to Another Drive
If your main SSD is constantly full, moving less-played games to a secondary SSD, HDD, or fast external drive frees up precious OS space without losing access or forcing deletions. This keeps your primary drive optimized for peak gaming performance better virtual memory handling, faster system operations, and smoother DirectStorage in modern titles. Modern launchers make relocation seamless, often without re downloading.
Use these simple steps:
- Prepare Your Destination Drive and ensure the target drive has enough free space and is formatted.
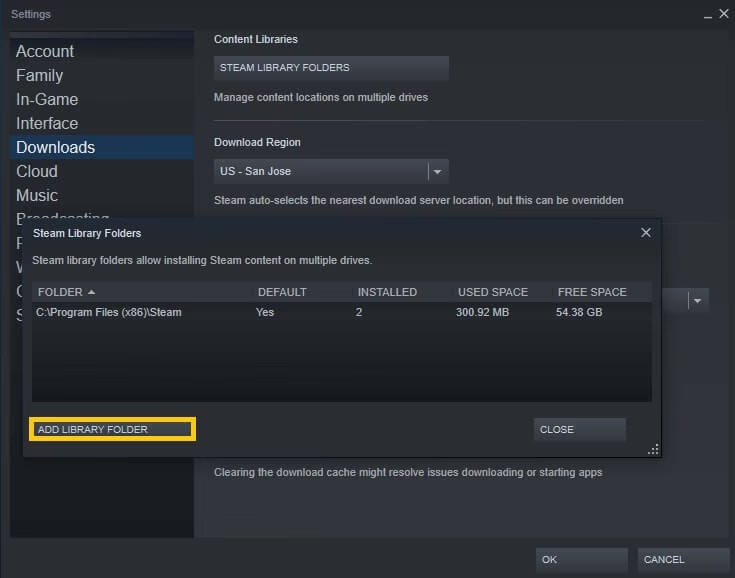
- Add a New Library Folder by telling your launcher where it can install/store games on the new drive. This creates the destination folder structure.
- Once the new library is set up, move games one by one.
1. Steam
- In your Library, right-click the game then select Properties.
- Then go to Installed Files tab and click on move install folder.
- Select the new library/drive from the drop-down.
- Confirm Steam copies files and updates the location.
2. Epic Games Launcher
- Open Epic and go to Library section.
- Find the game and then click on the three dots under the game tile.
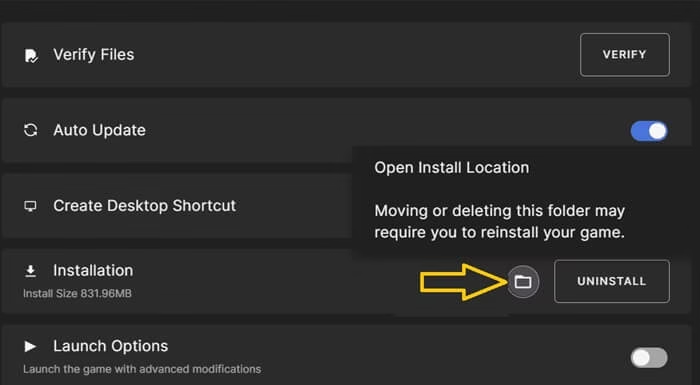
- Select “Manage Move Folder”.
- Browse to your new drive/folder and confirm.
- Epic copies the files over.
3. Xbox App / Microsoft Store / Game Pass
- Open Xbox app and select My Library.
- Find the installed game and click on the manage button.
- Look for Move or Change install location.
- Select the new drive and follow prompts to relocate.
4. Battle.net
- First Open Battle.net launcher and select the game.
- Click Options next to Play button
- Use Options > Game Settings > change install path if available.
- Blizzard often requires scanning after manual move for verification.
This method keeps everything playable while prioritizing speed on your fastest drive perfect for massive libraries in 2026!
Also know: Hitman Games in order According Release Date
Conclusion
You now have five powerful ways to clear space to run games smoothly. Start with uninstalling unused games it gives the biggest instant boost. Then enable Storage Sense for automatic help. Use Disk Cleanup for deeper cleaning. Tackle temp files next, and move games if needed.
These steps keep your PC optimized without hassle. Your games will load faster, stutter less, and install without drama. Reclaim that space today your next gaming session will thank you.
Which method freed the most space for you? Drop a comment below and share your results. Bookmark this page for future cleanups, or share it with fellow gamers who struggle with full drives. Happy gaming!

Amanda Starc
Amanda is a dedicated technical web content writer with a passion for transforming complex ideas into compelling and accessible online narratives. With a background in web development, and digital Marketing I bring a unique blend of technical expertise and creative storytelling to the digital domain.
Recent Posts

How to Transfer Photos from iPhone to Laptop
Editorial Team, 11 Mar 2026

Batman Arkham Games in Order of Release
Editorial Team, 10 Mar 2026

Medal Clipping Software: Is it Worth Using in 2026?
Editorial Team, 09 Mar 2026
Most Used Tags
Blog Category
Get amazing web and
app development deals
for your business from us.